It has been a long road and a steep learning curve, but I have finally finished the outfit previously blogged about here. I had challenged myself to make an outfit, combining elements from three different patterns and putting into practice the fitting skills I had learnt from the Craftsy class Sew The Perfect Fit with Lynda Maynard. The outfit was to wear to my nephew's wedding so I was under pressure to have it completed by September 7th. I finished with a couple of days to spare.
Here are some photos taken at the hotel where we stayed just before leaving for the wedding.
 |
| Front view |
 |
| Back View (this makes me look very bow legged) |
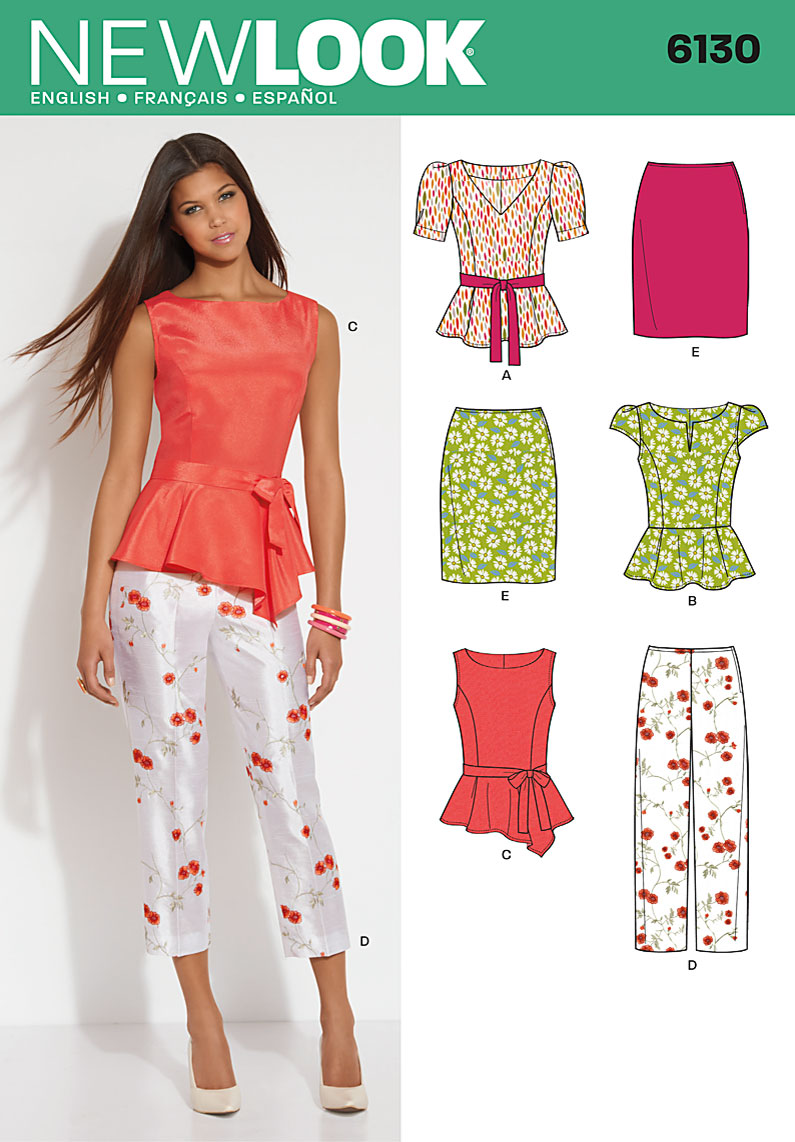
I used the bodice from New Look 6130, the sleeves from Vogue 8766 and the skirt was BHL Charlotte Skirt. The fabric I used was Purple Rose Brocade purchased from Spotlight and I used a black anti static Italian Lining also purchased from Spotlight. The brocade frayed madly the minute it was cut, so I overlocked the raw edges as soon as possible. This seemed to keep the fraying under control.
 |
| Peplum detail |
I loved how the peplum turned out. Because the brocade was quite stiff, it gave the peplum plenty of body. I ironed the pleats right down to the edge to get them to sit properly. It was difficult to iron a straight crease in the areas cut on the bias, so they are not perfect.
 |
| Neckline and bodice. |
I was very pleased with how nicely the neckline sat with no gaping. It really is well worth the effort of making a muslin and getting the fit right.
 |
| Darts at the sleevehead |
Here is a close up of the darts at the sleevehead. I love how neatly they shaped the sleeve and it was very easy to ease into the armscye.
 |
| Invisible zip |
I was very pleased with my invisible zip insertion. It worked perfectly, first go and even matched the waist seam perfectly. I used the tutorial from The Coletterie.
To hem the peplum there was one corner that needed to be mitred. I had to practice a lot on some scraps because it was not a perfect right angle and I new that the brocade would not be very forgiving if I stuffed up and had to unpick. To my amazement, it turned out really neat.
 |
| Mitred corner right side. |
 |
| Mitred corner wrong side |
Here are some detailed shots of the inside and lining.
 |
| Back |
 |
| Front. I used purchased satin bias binding to cover the overlocked edge of the facing. |
 |
| Inside sleeve hem. Satin bias binding used as hem tape. |
 |
| Back. I bound the end of the zip because it was loo long and I had to shorten it. |
The lining was sewed by machine to the neckline and the zip, and then hand sewn at the sleeves and the waist.
I had to make quite a few fitting changes to the Charlotte Skirt. I removed 2.5cm from the top of the skirt, which shortened the darts and I reshaped the side seams to match my curves (or lack of). I removed another 7cm from the bottom of the skirt before hemming. This skirt pattern is very long. I also added a slit at the back seam. Without this, it was impossible to walk in this skirt. I was surprised this was not included in the pattern or instructions.
 |
| Back slit to enable walking. |
 |
| Inside back slit. |
This inside shot reveals my big mistake. This is why you should not sew late at night when you are too tired to be thinking straight. I cut the lining too short. I had cut off 7cm from the brocade at the hemline, so I proceeded to cut an extra 2 cm off the lining, so that it would be 2cm shorter than the skirt. (But I forgot that I added the satin bias tape to finish off the hem). Too bad...I was not going to start again.
I attached the lining to the slit by machine so that it would not show. This is a technique I clearly need to improve on.
 |
| Lining hem |
I used a decorative machine stitch to sew the lining hem.
I have learned a lot during the planning and construction of this outfit, and improved some of my sewing skills. I am convinced that it is definitely worth the effort of making a muslin to get the fit right before cutting into the good fabric.
A couple of shots from the wedding
 |
| A big thank you to my Mum for all her help during the fitting process. I couldn't have done it without her. |
 |
| Me with my two sisters. Didn't the colours of our outfits look pretty together? |
Now onto the next project...
Happy Sewing


