Sunday 25 August 2013

The Perfect Fit ( a work in progress)

My nephew is tying the knot in September and I have been told it will be a formal affair. I have been thinking and planning my outfit over the last month or so. Recently I took a class on Craftsy Sew The Perfect Fit with Lynda Maynard. I thought this might be the perfect opportunity to try out my newly gained skills or see if I actually learned anything at all. I really can't recommend this class enough. Lynda Maynard has a wonderful teaching style. She is organised and methodical in her teaching method, which makes the class very easy to follow. She clearly demonstrates different fitting woes and the way to correct them, on real life models (and they are not all Barbie doll shapes). She then, very methodically demonstrates how to transfer these changes to the paper pattern. It's almost magical.  The pattern used for this class is Vogue 8766.

I had a few patterns that I liked certain bits of. So I thought I would combine three different patterns to create my outfit. These are:


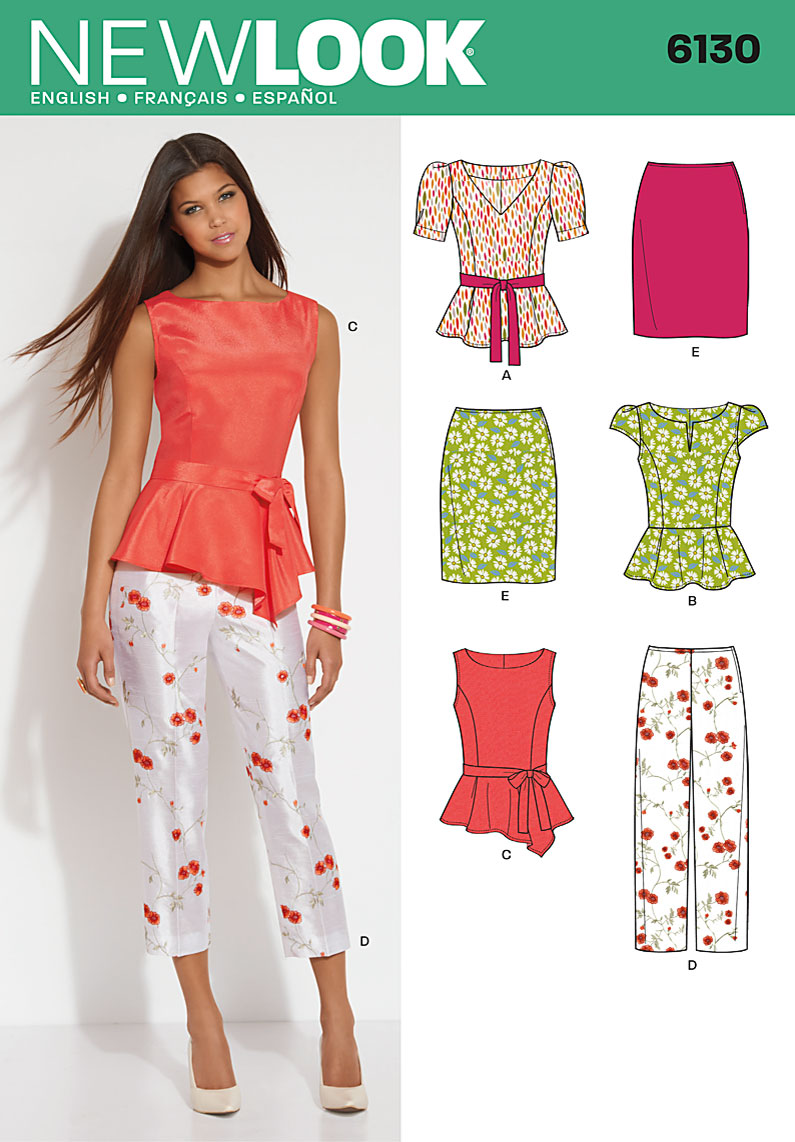
I love the princess seams and the shaped peplum of View C and the neckline of View A.
VOGUE 8766: I love the 3/4 sleeves. They have 3 small darts at the sleeve cap to shape them.

BHL Charlotte Skirt: I love the highwaisted skirt and the shaping and length.
I started off making a calico muslin of the bodice. The only drawback is that you really need someone to help you with identifying your fitting issues, once you have made up the muslin. My dear partner struggles to pin two pieces of fabric together without the pins falling out two seconds later, so I had to rope my Mum in to help. She really struggled with the idea of slashing the muslin and adding in strips of fabric to correct the fit. It took me quite a lot of convincing that it was only a muslin (never intended to ever be worn), and it was ok to cut holes in it. She was very worried that she would ruin it.

My slashed muslin with strips of fabric added.

There was quite a bit of slashing to do, to get this pattern to fit my body. I am quite rectangular, not much waist definition. I am really hoping that the peplum is going to give the illusion of a waist.


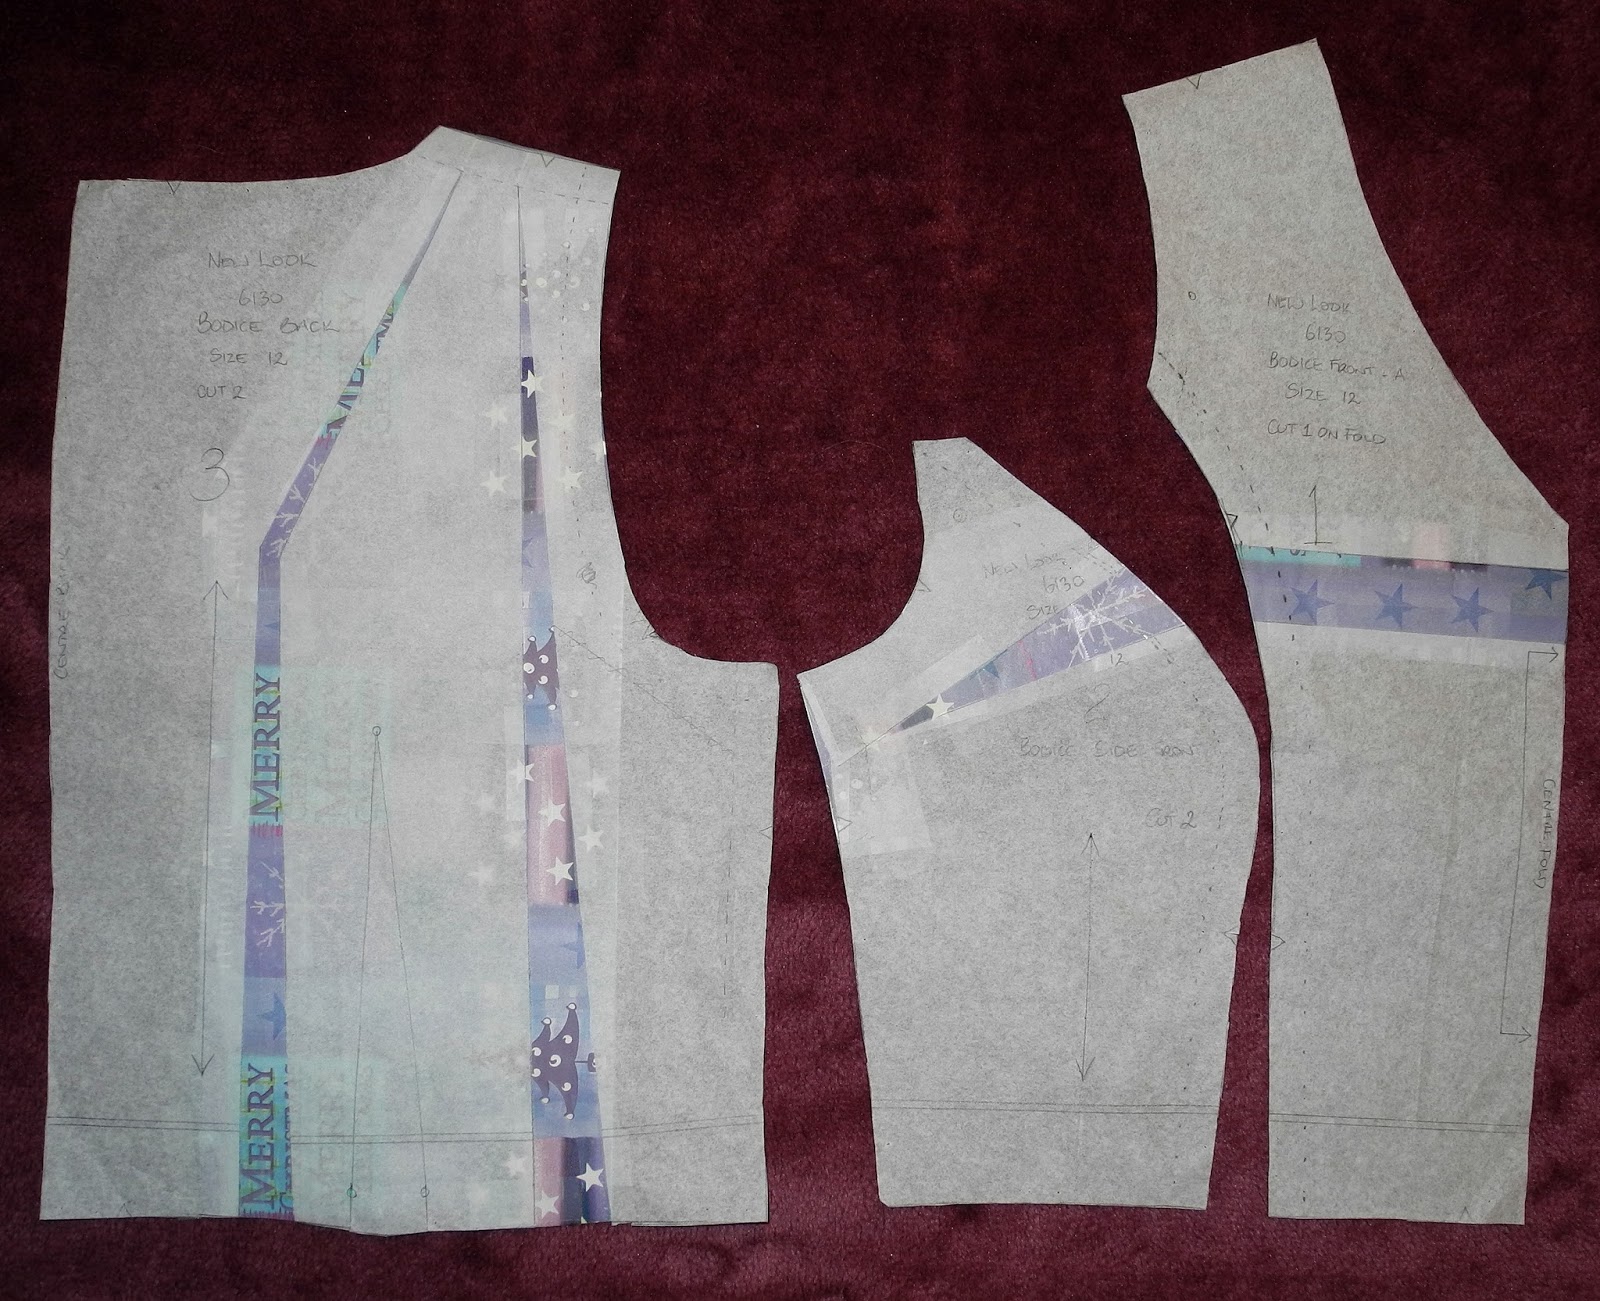
Here are the changes added to the paper pattern.

Using my altered pattern I created a second muslin of the bodice to double check that my alterations were correct. I included the sleeve this time. I had to add more circumference to the sleeve head, tapering to the sleeve hem, to fit the bodice armscye. This worked out surprisingly well.
Notice the small darts in the sleeve head.

I decided that I wanted to use a brocade fabric to construct my outfit. I had either a royal blue or an emerald green colour in mind. I should have learned by now, that the fabric shop will never have what I have in mind. It would eliminate the inevitable disappointment. Anyway, after a two hour trip to the nearest Spotlight (on route to return my daughter to the airport), I emerged from the shop with this Purple Rose Brocade.
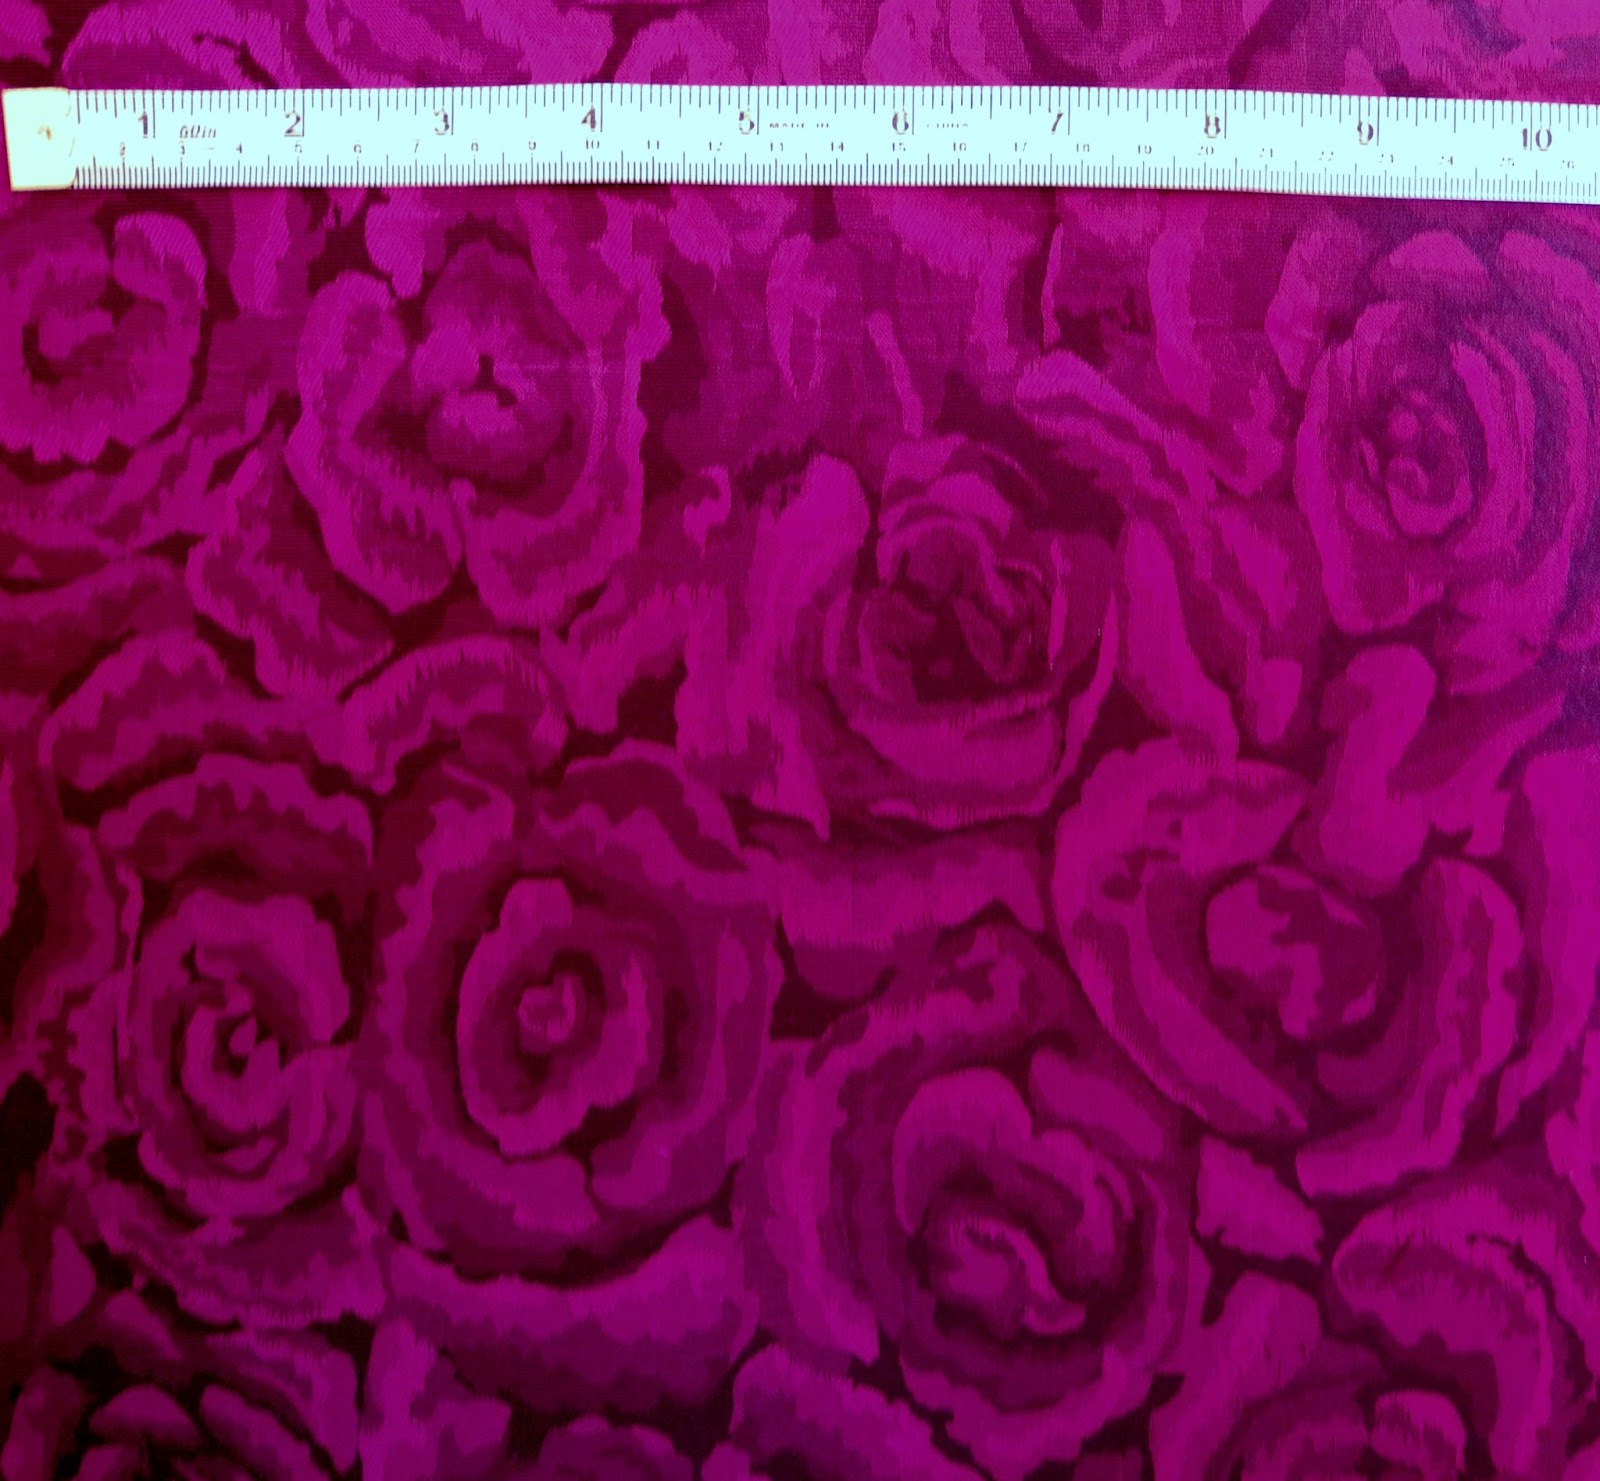
Purple Rose Brocade purchased from Spotlight ( the colour is deeper in reality...hard to photograph)
I suspect this is 100% polyester. It is quite stiff and frays like crazy when cut. I paid $19.99 per metre which I thought was quite expensive, but I had little choice. I guess I am starting to warm to it.

Stay tuned for the next progress report.


Happy Sewing.


Tuesday 20 August 2013

The Kristin Dress

I am on holidays from work this week...so lots of time for sewing. I have quite a big sewing project on the go at the moment (more about that soon), but I felt like a change of pace and thought I would try the Kristin Dress by Style Arc as an instant gratification project.

Kristin Dress


Stylish jersey slip on dress with raglan sleeve dress

KRISTIN DRESS: This new fashionable knit dress is so versatile, shorten it and wear it with leggings or wear it as a dress with your boots or ballet flats. Put your own creativity in by adding contrast pockets, why not try leather, this is the latest new look! 


I made the longer version with the full length sleeves. As you may have noticed, I did make some alterations to the pattern. I couldn't be bothered putting a zip in the back so I folded back the seam allowance and cut the back piece on the fold, eliminating the back seam. I wasn't keen on the crew neck so I redrafted the neckline and drafted some new neck facings to match. Increasing the neck opening also eliminated the need for a zip. I can easily pull this over my head.

New neckline on original pattern pieces.
 I used a Dark Charcoal Marle Ponte De Roma purchased online from Lincraft. I cut a straight size 12 and didn't make any alterations regarding size or length. I am happy with the length and the sleeve length was perfect for me. The fit was quite roomy and a little "sack like". Maybe some long darts in the back and some more shaping in the side seams would improve the shape? I might think on that a while.


Front with pockets


Back


Side


 Here are some more details:


Neckline facings top stitched.
To top stitch the neckline facing, I machine basted around the edge of the facing from the wrong side. This gave me a guide line to follow when I top stitched from the right side. I top stitched a few millimetres away from the basting stitch so that I could easily remove the basting stitches afterwards.

Top stitching on pockets and sleeve hem


All seams were finished with my overlocker.

I have styled my Kristin Dress the same as the pattern envelope, with a scarf tied in a bow. For cooler weather it would look great with a big thick woolly scarf and you could layer it over another top for extra warmth. In warmer weather it would look great styled with a long statement necklace. I think the Kristin Dress is really a blank canvas, especially when made up in a neutral coloured fabric. Just the addition of a colourful scarf can really dress it up. It's very comfortable to wear and hides any of those unwanted lumps and bumps.


Happy Sewing

Sunday 18 August 2013

A Very Simple Skirt and Top

After seeing Sew, Stash, Sew's version of the Style Arc Fay Skirt, I was inspired to give it a go. It is such a simple design with only one pattern piece, yet it has lovely shaping built in. After sewing the side seams together, you simply turn the tube of fabric back in on itself, creating a fully lined skirt (no hem required), and is finished off with a simple elasticised waist. This is a very fast make and a great instant gratification project.


Fay Skirt

Fay Skirt sewing pattern

I made the size 10, based on my hip measurements, but this turned out a little snug. (No fault of the pattern, more likely the few extra pounds I have gained over winter). Here is my version:

Front


Side

Back
I used a silky jersey purchased online from The Remnant Warehouse

Elasticised waist


To do the waist elastic: I measured the required size and added a couple of cm's for the overlap. I joined the elastic ends by overlapping and stitching several times to make sure the join is secure. Then I divided up the elastic loop into quarters and did the same with the waistline on the skirt. I then pinned the elastic to the inside edge of the skirt, aligning the top edges and matching the quarter points. I then overlocked the elastic to the skirt, stretching the elastic to fit the skirt as I went. You then turn the top edge to the inside folding over the elastic and stitch down from the right side. I used a zigzag stitch to allow some stretch.

Fully lined skirt. Nothing to hem.

Even though this is quite a close fitting skirt, it doesn't cling due to the self lining, which I have found allows the skirt to hang nicely.

I had some left over jersey from my purple Style Arc Nina Cardigan which matched quite well with my Style Arc Fay Skirt so I made a top to wear with it from New Look 6150 View D. I love the simple style of this pattern, the boat neck and the general shape. I cut a size 14 in the shoulders, grading in to a 12 below the arm hole. 

Front


Back


Sleeve cap slightly gathered.


Woops! Action shot when I dropped the camera remote control.


A nice simple outfit, quick and easy to make. I think I will get a lot of wear out of this one. Great "date night" outfit for when my partner takes me out for dinner (usually once a week). Yes, I know, I am very fortunate.

Happy Sewing.

Sunday 11 August 2013

Tempting Beignet


Beignet with powdered sugar

As tempting as this luscious dessert looks, I didn't fall under it's temptation. It was the Colette Beignet Skirt that has tempted me.


I have admired many Beignet Skirts on numerous sewing blogs but I was always unsure if this style would suit my figure. Also, all those buttons were pretty terrifying. Anyway, I have finally fallen to the temptation and had a go at sewing it for myself. 


I used some mystery fabric I had in my stash. I think it it some sort of wool blend. I washed and dried the fabric before cutting as is my usual practice to avoid any shrinkage later. (More on this later). The facings were made from the same fabric and I lined it with some poly lining.


I cut a size 12 at the waist and graded down to an 8 at the hips. Yes, I am rather thick around the middle. I was really pleased with how well this fitted my shape. I ended up taking a sliver out of the front panel seams to eliminate some poofiness which worked fine.


There are pockets in the side seams. I'm not really a pocket fan, but these have been quite handy for carrying my phone. I didn't make the tie belt, I preferred the look of a narrow belt that I already had.

Here are a few shots of the finer details:


There were a lot of pieces to cut out for this skirt: three back panels; four front panels; pockets; seven facing pieces; seven lining pieces and belt loops. It was rather like putting together a jigsaw puzzle. All the pieces fitted together beautifully and the instructions were very clear, which made the whole process relatively easy...just time consuming.


Here is a close up view of the facings and lining on my dress form. I have seen lots of people use a contrasting fabric for the facings (usually something a bit fun) which I will try on my next one. This wool blend fabric with the lining makes this a lovely warm skirt for winter. I have been wearing it with black tights and a black cardigan.


Getting back to prewashing my fabric to avoid shrinkage...I was devastated to find that after the first wash, post construction, my lining was longer than the main fabric. Yes, despite my pre washing, my fabric continued to shrink. Luckily it only seams to have shrunk in the length, not the width, so it still fits me (thank goodness). As a quick (and lazy) fix, I turned the lining hem up again and secured it with steam a seam lite. You can see in the photo above that it is a little messy where the lining was sewn into the facing, but I think I can live with it.


I chose these cute flower shaped buttons in black, so they would be a fun feature...tying in with the black belt, tights and boots. I was really happy with how my button holes turned out but all the credit has to go to my Bernina 350. It does the most awesome buttonholes and has totally dispelled my fear of sewing anything with buttons.


Here is a close up of the belt loops. The pattern instructed these to be made by folding the fabric in half, sewing down one side and then turning the tube inside out. This was an impossible feat with the fabric that I used so I improvised. I simply overlocked each raw edge and then folded it into thirds, with the overlocked edges underneath. I topstitched the edges to secure them. (I only made one long belt loop, and then cut it into smaller lengths later.) Then I simply turned under the ends and stitched into place on the skirt.


While I was making my Beignet I came across this pretty floral fabric at the local charity shop, and I thought it would be a great match with my skirt. It only cost me $3 and there was enough to cut a Grainline Scout Woven T-Shirt.


Image of Scout Woven Tee

I had been wanting to try this pattern for a while after reading all the great reviews online. I cut a size 12 and graded down to an 8 at the hips. I found this pattern to run a bit on the large side and it is a bit roomier than I would have liked in the shoulders, and by grading it down to an 8 at the hips, I totally destroyed the lovely shape of this T-Shirt. Mine is very boxy, (however, this is not an issue tucked into my high waisted skirt). Next time I will try cutting a straight size 10. 


I love how neatly the neckline sits, and I love the length and shape of the sleeves.


I'm still not convinced that this skirt is really suitable for me, but I am really happy with the fit and I have already got lots of wear out of it. Quite happy with my new outfit.


Happy sewing

Thursday 8 August 2013

Lacy Tee

Well, I have finally had some success with New Look 6735.


This is a great pattern offering several garments in the one package. I have only tried the skirt and the short sleeved tee so far.


My previous attempt at sewing this Tee was not entirely successful. The fabric I used had a very poor recovery and the neckline stretched terribly while attaching the neck band. I managed to save it by pinching out a dart at the centre front of the neckband which sort of turned it into a design feature. Ha Ha.


Here it is with the six gored skirt. I love the skirt. It has a lovely shape and with an elastic waist is really comfortable to wear.


For my latest attempt I used a super stretchy, lacy knit purchased from my local Bargain Box Fabrics. I thought this would be a real pain to sew but it was actually no trouble at all. The neckline turned out very well.

There is a seam at centre back which is great for fine tuning the fit. I made a size 12 with no alterations. The front piece is slightly gathered at the side seam at bust level, to add extra room for the bust. Instead of basting two rows and pulling up the gathers, I simply stretched the front piece to fit the back piece as I sewed the side seams. This worked quite well and eliminated a fiddly step. 


Here is a close up to show the lovely lacy knit.


I'm quite happy with my new Lacy Tee.

Happy Sewing