Wednesday 28 December 2016

Style Arc Olivia Dress


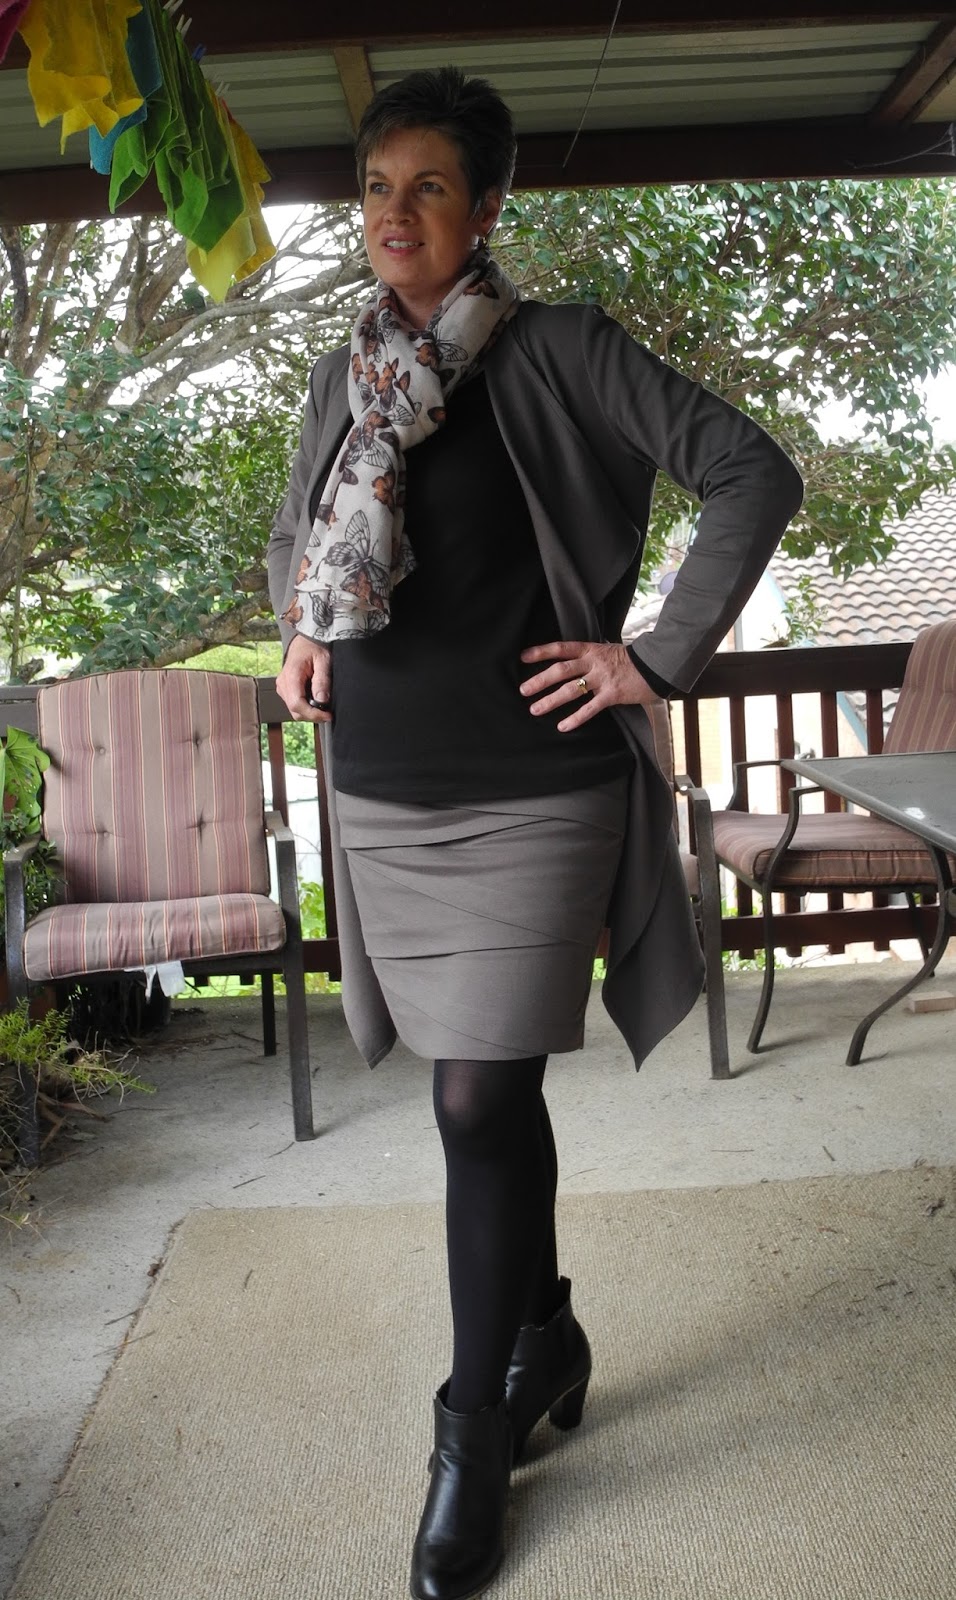
According to the Style Arc website: "A great every day dress to have in your wardrobe that is very easy to sew. The flattering extended shoulder line along with the elastic waist makes this dress suitable for different occasions. Dress it up with your favourite designer belt or use the belt pattern to create your own look in a contrast fabric.

Style Arc Olivia Dress

This pattern has been around for quite a while and there are many lovely versions out there in blogland. It has taken me a while to finally purchase the pattern and try it out and I have not been disappointed.


I used this pretty tear drop printed rayon from Spotlight, but it was a nightmare to get those stripes lined up before cutting. Even though I spent quite a lot of time pinning the fabric to ensure the stripes matched, it still managed to shift and not be as perfectly aligned as I had hoped for. Next time I will steer clear of any striped patterns, especially in shifty rayon.


The only alteration I made to the pattern was to add an extra 1.5cm to the bottom edge of the bodice and the top edge of the skirt. I wanted to make sure there was plenty of fabric to be able to overlock the raw edges of the elastic casing with ease. This worked out very well. Some people have commented that the arm holes are too low and their bra is exposed, but I did not have this issue.


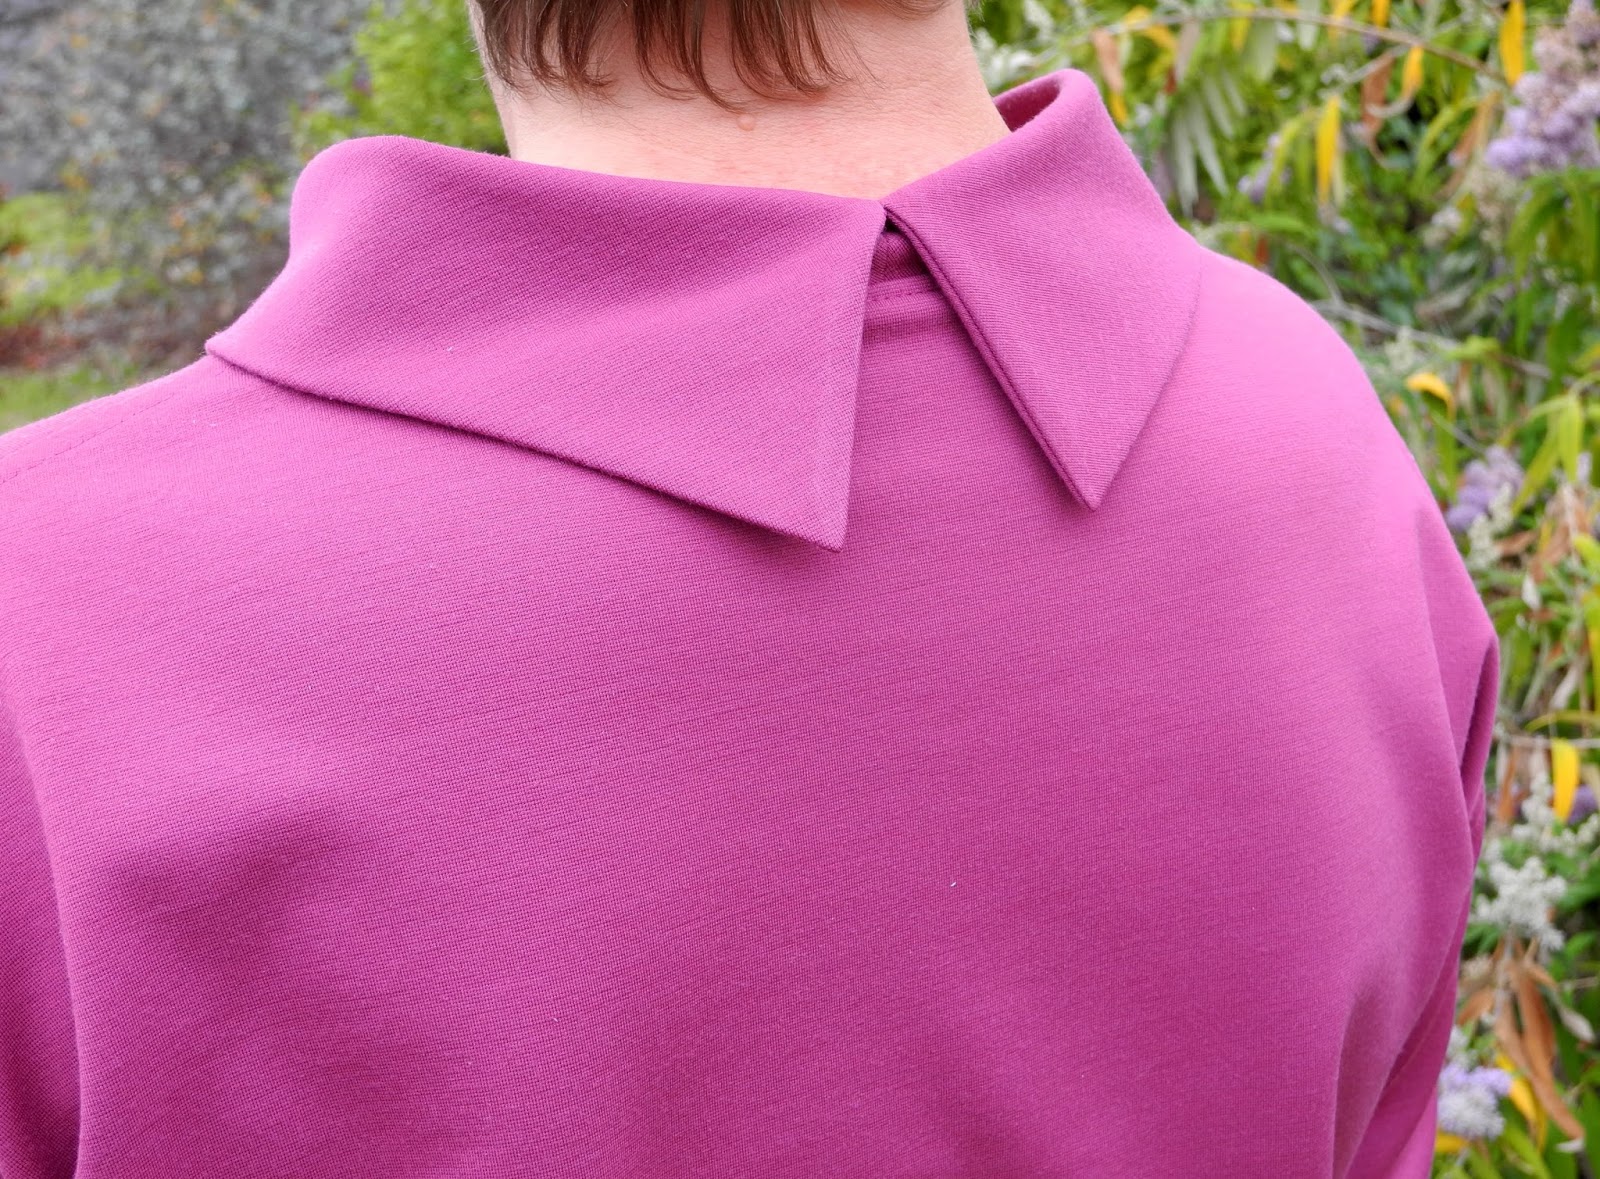
The bodice is maybe a little too blousey at the back, and could benefit from a little shortening. This may be due to the extra length I added to accommodate the finishing of the casing. I will need to think on this before I make another one.


I didn't make the belt included with the pattern. This narrow gold belt worked quite well with it. The neckline facing was top stitched down so there are no issues with it flipping out at all. The dress turned out very long and I ended up turning up a 5cm hem twice to achieve this length. This gave a nice weight to the hemline too. These photos were snapped in a hurry on Christmas Eve morning as we were about to head to the shops for our last bit of Christmas grocery shopping. It was cool and comfortable in the rayon and I would recommend this pattern as a nice simple wardrobe staple. Many different looks could be achieved depending on fabric choice and I think this would work well in a knit fabric too.

Happy Sewing

Tuesday 13 December 2016

Style Arc Kate Dress in Leopard Print

Style Arc Kate Dress
This is my third Style Arc Kate Dress. You might say I like this style. A classic wrap dress is flattering on most figures and they always makes me feel all feminine and girly when I wear my Kate dresses. You can see the others here and here.

Style Arc Kate Dress
I did simplify the pattern a little, by eliminating the tucks in the front by cutting the side without the tucks as a pair. I found in my first version that sewing the tucks was tricky in a slippery poly knit and they were not really necessary.


I added 3 cm of length to the bodice area to lower the waistline and kept the length (including the extra 3 cm). The waist ties were lengthened so that they would be long enough to go right around my waist and tie at the front.


I was planning to have short sleeves but after cutting them out I realised that they were a little too close fitting for short sleeves. I will try short sleeves next time, adding some extra width to the pattern before cutting out. I kinda like how these "just above the elbow" length sleeves turned out anyway, and they are fine for my cold air conditioned office at work.


The fabric is a poly/spandex knit in a leopard print, from Spotlight in Queanbeyan and they still have some available, or they did last Friday when I called in. (I love it when I have to drive to Canberra for a work meeting, and the route goes right past Spotlight in Queanbeyan. I usually take full advantage.)


The neckline was finished off with some self fabric binding turned to the inside and secured with a twin needle. I used Bondaweb on all the hems which eliminated skipped stitches and tunnelling when I sewed them with a twin needle. It makes such a difference when working with these slinky poly knits. 


I'm pretty happy with my new dress and I have worn it to work twice already.


Happy Sewing

Friday 2 December 2016

Style Arc Hazel Dress

Style Arc Hazel Dress

This Style Arc Hazel Dress was actually made way back in May. You may have seen a sneak peep during Me Made May. I think I only got to wear it once before the weather turned cold, so it has taken until now to get some descent photos for the blog.

Style Arc Hazel Combo
From the Style Arc website: "This cocoon-type dress is Style Arc’s take on the exciting new oversized shape of this season. We’ve provided so many options for you with this pattern. Make it with or without sleeves. Make it with or without hidden pockets. You can even choose to make it as a top!"


I chose to make the dress with the sleeves and I also included the pockets. The fabric came from Spotlight. It was some sort of knit, not as heavy as a ponte, had a nice drape and not too much stretch. The two tones are actually the right and wrong sides of the fabric. I decided to use both sides of the fabric to add interest and highlight the design lines of the dress.


The neckline, hemline and sleeves are finished off with a facing. I initially tried to hand stitch the hem facings, but they looked terrible in this fabric, so I resorted to using the twin needle which gave a much better result.


The sleeves are very "bat wing" shaped. This is a bit of an issue if you need to raise your arms above your head as the whole dress lifts up and you can reveal far more than is socially acceptable. The shape of the sleeves also restricts what you can wear over it. I have no cardigans or jackets that would work with this style. I found that the dress tends to slip back off my shoulders, when sitting and the front neckline rides up and chokes me. This may be due to my forward sloping shoulders? but is quite annoying.


I like the look of this dress, but I do find it annoying to wear due to the reasons mentioned above. Not sure if I would make it again.

Happy Sewing

Monday 28 November 2016

Style Arc Marilyn Dress


If you have been following me on IG you would know that I planned to make Vogue 8945 for my work Christmas function. Well, I chickened out at the last minute because time was running out and I was not sure how the Vogue pattern would fit. The Marilyn Dress by Style Arc caught my attention, and I know Style Arc size 12 usually fits me quite well without needing alteration. So plans were changed.

Style Arc Marilyn Dress

This simple dress is made special by the lovely split sleeve and ties and the elegant V neckline. There are two V necklines to choose from and I went with the lower one. It is a loose and gentle A line shape and is easy to wear.


I used a rayon chirramon from Spotlight which had the perfect drape for this style. The fabric behaved very well and I had no trouble sewing with it. I used a microtex needle (size 70) in my machine and a walking foot. It pressed beautifully and doesn't crease too badly, like some rayon's can do.


I felt great wearing this dress. It was comfortable and felt very elegant and I love the colour of this fabric. The only alteration I made was to lengthen it by 3cm.


The split sleeve makes this simple dress quite special. I have seen a couple of versions out there that have used a contrasting sleeve lining which looks fantastic. I already have a few ideas for future versions.


We had a great night out at a Carnival themed party at Fairground Follies and hubby wore a shirt I had made him too.


Happy Sewing

Tuesday 15 November 2016

Style Arc Marita Knit Dress #2

Style Arc Marita Knit Dress
I have revisited the Style Arc Marita Knit Dress. You can see my first one here made in a printed ponte.

Great easy to wear knit dress
Style Arc Marita Knit Dress

This time I used the suggested fabric ...a two way stretch knit jersey. This fabric is from Knitwit. I cut a size 12 and added an extra 1cm to the side seams below the arm holes. I didn't want the dress to be too clingy.


The fit turned out much better than my first one. It's amazing how using the suggested fabric works so much better. Initially I thought I would run the stripes vertically, as I thought they would be more slimming that way, but then I realised the most stretch ran along the stripes so I would have to run them horizontally. I was very mindful of this when cutting out and I tried to have the darkest stripe positioned around my waist. Unfortunately the mauve stripe is not in the most flattering position.


I am very happy with the fit at the back. I tried to match the stripes at the side seams but they look a little off due to the irregular size of the stripes. They are not a constant width and sort of blend into each other. The sleeve stripes matched up quite well with the body of the dress.


The jersey sits much better than the ponte, but I do find myself fiddling with the cowl a bit. I do like the interesting twist at the waist and I like the way the stripes have changed direction on the front bodice area.


The high back collar is not interfaced and it does collapse a bit in the jersey. It might be worthwhile interfacing this bit to add a bit of structure.


This dress does show off any lumps and bumps but it is very comfortable. I wore it to work with a black cardigan and felt good all day. This is my favourite sort of work dress as it does not require ironing. It would make an ideal travel dress too. It is a quick sew but I don't know about making it in an hour, as it states on the website. I cut this out and sewed it up on a Sunday afternoon and was finished before dinner and I am a slow sewer so I was very pleased with that.


Happy Sewing

Saturday 5 November 2016

Style Arc Adeline Dress (aka The Recovery Dress)

Style Arc Adeline Dress
Sewing has taken a back seat over the last couple of months as I have had some serious health issues to deal with which I will share at the end of this post if you are interested*. And now, onto the Adeline Dress, a recent pattern release from Style Arc which I sewed up during my recovery.


Style Arc Adeline Dress

I have been a bit of a rebel and used a textured silk cotton knit from Knitwit in an olive green, (this colour has sold out but other colours are available), when the recommended fabric was a woven. I thought this would work because it has a low stretch factor and a nice drape.


These photos were taken after the dress had been worn all day at work, hense the wrinkles. The Adeline dress is a little longer than I expected, but I quite like it. The hem is finished with a facing and I did find it a little restrictive and it could perhaps benefit from a centre back vent or split. I may incorporate this in the next one. 


You can see the high/low hemline in the photo above. This is quite fashionable at the moment, but I'm not sure I'm a huge fan. I think this dress would look just as good with a level hem line.


The shoulder seams were stabilised with some cotton tape to stop them stretching out, as I was using a knit fabric. The neckline and hemline were finished with a facing which was then top stitched to keep it in place, but also adds a nice decorative element. I love the cuffs on the sleeves and I have secured them with a few hand stitches to hold them in place.


I decided to add some decorative buttons to the pockets, as the fabric was looking a little drab. I found these cute orange buttons at the local fabric shop. They are made from Corozo, a natural product which I thought was quite fitting for my silk cotton dress.


This how I styled it for work yesterday. Thanks to Mum for taking these photos for me in her beautiful garden. She did an awesome job and I had 97 photos to choose from, not the 3 or 4 I usually get when hubby is behind the camera. (And this was the first time she had used a smart phone to take photos too. We had such a laugh and after all I do have plenty to be happy about now).

Happy sewing

*I was diagnosed with bowel cancer in early September. This came as a huge shock to me and my family. It is very confronting when faced with your own mortality. I have decided to share my experience to help create awareness of this insidious disease.  

I casually mentioned to my GP (on a totally unrelated visit) that I had noticed I was passing a little blood when using the toilet. She referred me to the local surgeon for a colonoscopy. It took a month to get in to see him. As I have no private health insurance, he put me on the public hospital waiting list for the procedure. This took another two and a half months before I had the test on 2/9/16. 

Everything happened very quickly after that. I was sent for further tests...a CT scan and an MRI. There did not appear to be any spread of the tumour to any other organs. The local Surgeon referred me to a Colorectal Surgeon in Sydney, due to the low location of my tumour, and I had an appointment with him a week later. He booked me in for surgery on 30/9/16. The surgery (an ultra low anterior resection) went well. Due to the skill of the surgeon, the operation was done laparoscopically (keyhole) and I did not require an illiostomy, so no "bag" to deal with. After spending eight days in Westmead hospital, I was sent home to recover.  

I then had to wait almost three weeks before I received the pathology results... a rather nervous wait. However, I received good news...no cancer cells were detected in the associated lymph nodes, therefore I require no further treatment. I couldn't have hoped for a better outcome. Early detection is the key to beating this disease so I urge you to act promptly and get any symptoms checked without delay. It may just save your life.

Wednesday 14 September 2016

Paprika Patterns Jade Skirt and another Style Arc Estelle Jacket


Continuing on with my love affair with Style Arc ponte, I have created this ensemble using the Paprika Patterns Jade Skirt and the Style Arc Estelle Ponte Jacket. Fabric is a taupe ponte purchased from Style Arc, which is currently unavailable.


This is the second time I have made the Estelle jacket and I don't really have anything more to add about this pattern, except that I love it and it has been getting a lot of wear. You can read about my first one here.


I still couldn't leave the edges raw. This time I turned a 1cm hem twice and machine stitched close to the edge.


The Jade Skirt is a "curve-hugging skirt that you'll feel comfortable in" according to the website description. The unusual folds on the front are what make this skirt stand out from the usual fitted knit skirt patterns available.


These required precise accuracy at the construction stage, which was not that difficult...just a bit fiddly. The instructions were excellent and there is also a short video on the website, which I found very helpful. I lined the skirt with Vanity Fair Lingerie Tricot purchased from Knitwit. Each fold is sewn to the lining to keep it in place.


The skirt is very figure hugging, and I would only feel comfortable wearing it with a long jacket . I like the shape of the skirt paired with the shape of the jacket. The jacket also works well with pants and in the photo below I am wearing it with Style Arc Elle Pants on our recent holiday to Western Australia. The photo is taken in front of the Busselton Jetty.


Both these garments have been great additions to my wardrobe and have been worn a lot, both together and individually.

Happy Sewing

Sunday 4 September 2016

Style Arc Esme and Elle

Style Arc continue to be my go - to pattern company. I find most of their designs suit my lifestyle and taste. The Esme Designer Knit Top and the Elle Pants are patterns I have made numerous times and are firm favourites.


This is the first time I have made the Esme with sleeves. The only pattern alteration I made was to lengthen the body by 5cm, the same as my previous versions, see blog post here and here. This length is much more flattering on my figure.


I like the bottom coverage at the back. The fabric is a deluxe ponte from Spotlight in a lovely fushia pink. I am continually tweaking the Elle pants pattern trying to achieve that elusive perfect fit. I still seem to have far too many wrinkles, but maybe this is the nature of slim pants? Fabric used was denim blue stretch bengaline from Style Arc. They have the best bengaline...great quality.


As instructed, I pressed the seams open and top stitched them down. I like the subtle interest this gives the top. The collar is my favourite feature and it turns out so beautifully, especially when cut on the bias.


This pattern is drafted very well, and everything turns out so neat. I must say I prefer the sleeveless version. I think it works better. The addition of the sleeves creates extra fabric folds at the underarm/bust area which just don't look quite right. Despite this, I have worn this top many times since completion back in May (you may have seen a sneak peak during Me Made May) and it works equally well with long pants or a slim skirt.


The top stitching down the side seams continues down the side split and across the deep hem and back up the other side.


Even though I love the collar on this top, I would like to make the collar less version so I can accessorise with a scarf or long beads. The collar limits how you can accessorise.

Two garments that have already seen a lot of wear in my wardrobe already.

Happy Sewing