Showing posts with label flat felled seams. Show all posts

Sunday, 22 November 2015

White Linen Shirt

After promising my dear husband that I would make him another handmade shirt months ago, I have finally delivered.


Last March, my ever patient husband took me on a fabric shopping trip during a visit to Sydney. I got to visit Tessuti at Surry Hills which was amazing...such beautiful fabrics. I could have spent hours there, but this was only a quick trip. I did manage to purchase a couple of pieces of lovely 100% linen and one of them has been made into this shirt.


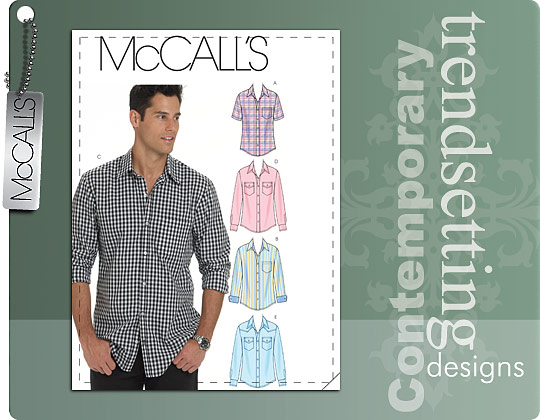
I based this shirt on McCalls 6044 which I have made twice before here and here. You can find all the construction details and pattern alterations in these previous posts so I won't go over them in detail again here.


For this version, I only added one pocket at Greg's request. This simplified things as I didn't have to worry about matching the placement to the other side. Also, using a solid colour meant no pattern matching. This shirt was probably a lot easier to sew than my first two versions because of this and the fabric was a dream to press and sew.


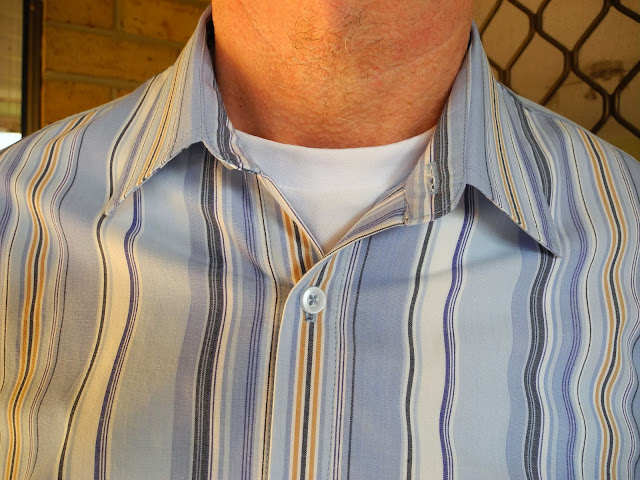
I followed The Classic Tailored Shirt by Pam Howard on Craftsy, as I did with my previous shirts. This is a great resource and I can't recommend this class enough. I added a tower placket that is not included in the pattern using this tutorial. I love this detail on a man's shirt. Greg loves wearing his sleeves rolled up so I lengthened the tower placket to make it easier for him to roll up the sleeves.


I had all intentions of sewing button holes and buttons on this shirt, but I couldn't find any buttons I was happy with locally. Greg is a big fan of press studs and I had these "Snaps" from Snapsource in the stash. At first I didn't like the idea of using snaps on a linen shirt but after some convincing from Greg, the idea grew on me. These ones are called white marble and I think they go quite nicely with the casual rumpled vibe of the linen fabric.


There is something so satisfying in sewing a man's shirt. I love the neat finish that flat felled seams produce, both on the outside and the inside. I spent a couple of weeks sewing this shirt in short bursts in the evenings after work and I managed to get it finished just in time for his birthday. I gave it a wash to remove the pink pencil marks so it was presentable for the occasion, but to my horror the interfaced areas went all bubbly and crinkled looking. I thought it was ruined, but after getting over the initial disappointment I have decided it doesn't look too bad with the wrinkly nature of the linen and it is wearable. Greg didn't seem concerned about it.


I have learned my lesson though. No more cheap and nasty interfacing for me. I have explored Fashion Sewing Supply and their interfacing products online. Has any one else in Australia bought interfacing from this supplier? I would appreciate any feedback or any suggestions for a more local suppler of decent interfacing. It is so heart breaking to have all your hard work ruined by inferior products.


I couldn't get a smile out of him for these photos. We were out in our front garden and he was worried someone might see him. Oh the trials and tribulations of getting photos for the blog. He did love his new shirt though, and I get a lot of pleasure seeing him wear it.

Happy sewing.

Wednesday, 1 January 2014

The Christmas Shirt (aka McCalls 6044 take 2)

I made my dear partner another shirt, this one for Christmas. I used McCalls 6044 as previously blogged about in The Birthday Shirt. I used all the previous alterations to the pattern, but in addition to those I also lengthened the sleeves by 6cm.


Sleeves actually fit those long arms this time.
This is a lovely soft 100% cotton shirting purchased from Spotlight. I actually used the wrong side of the fabric as the right side because the blue lines were a little more subtle and just looked better.


Front


Back


Pockets and Pearl Snaps
I cut the pockets on the bias to add some visual interest. This made them a little tricky to sew. I had to be very careful not to stretch the fabric and distort the pocket shape. I'm pretty pleased with how they turned out. 


Back yoke also cut on the bias.

All the seams have been flat felled. I love this technique in a man's shirt. It's really not that hard to do and results in such a lovely neat finish, inside and out.


Tower Placket
As in The Birthday Shirt I replaced the continuous placket with a tower placket, but I lengthened this one to make rolling the sleeves up a little easier. I cut the tower placket on the bias and to avoid distorting the fabric, I fused a very lightweight interfacing to it. This worked beautifully and I was very pleased with the result. It hardly added any stiffness to the placket so it hasn't effected function at all.


Close up of shirt details
Instead of buttons, I used pearl snaps (press studs), a request from my partner. These came from snapsource.com and I applied them with my Snap Setter tool also purchased from the same supplier. I can't recommend this company enough. The snaps are really good quality and the Snapsetter Tool is very easy to use. Tip: don't attempt to apply snaps after 10pm or you may experience some abuse heated discussion from other members of your household. I speak from experience.


He's smiling...I think he likes it.

I have found sewing men's shirts very satisfying. It's fairly easy to achieve a good fit as they have less curves than women and they just turn out so well...just like a bought one, only better.

On a different note, I have joined Sarah from Goodbye Valentino in a Ready To Wear fast for 2014. That means I have given up buying Ready-to-Wear clothing from January 1 2014 – December 31, 2014 one year in favour of making my clothes. 


What constitutes a RTW fast? Refraining from buying ALL outerwear, dresses, tops, pants, shorts, sweaters, coats, exercise clothes, jeans and bathing suits. Shoes, socks and underwear are permitted :)


Happy Sewing

Sunday, 27 October 2013

The Birthday Shirt

Well, I have finally made my partner a proper men's shirt. (I have been promising this for a while now), just in time for his birthday.


In preparation to make this shirt, I purchased Pam Howard's "The Classic Tailored Shirt" from Craftsy. This class was fantastic. Pam is such a great teacher. She explained every step of making a classic tailored shirt very clearly and demonstrated every step in great detail. She even made a couple of mistakes herself, but then explained and showed how to fix those mistakes. I learnt so much from this class and it certainly gave me the confidence to make my own classic tailored shirt.

I used McCalls 6044 in a large with a few alterations.


I eliminated the separate front band, by cutting the front band and the shirt front as one piece. I also eliminated the seam in the two piece sleeve, so that the sleeve was only one piece. I redrafted the back of the shirt to create a proper yoke and yoke facing. I made these changes simply to make the shirt pattern more like the Kwik Sew pattern that Pam was using in the class. I also made a tower placket. The Craftsy class did not cover a tower placket, only a continuous placket was demonstrated. However, Pam did provide a pattern for a tower placket in the class notes and a link to her Tower Placket Tutorial.

The fabric I used was 100% cotton shirting purchased online from The Remnant Warehouse and I see it is still available. It was a lovely soft cotton and easy to work with. Although the stripes gave me a headache during the cutting out process. It took a lot of time and thought to get the stripes placed to look their best on the pattern pieces. I was quite pleased with the result. In fact, I matched the stripes so well on the pocket that it is almost invisible.


Pocket


Here are some photos during construction:


Pam's Yoke Trick (aka Burrito method)
After joining shirt fronts to shirt back outer yoke at the shoulder seams, the shirt fronts and shirt back are rolled up exposing the yoke facing, which is then wrapped around the rolls (like a burrito) and pinned to the shoulder seams. After sewing these seams, the rolls are gently pulled through the neck opening revealing a lovely neat fully enclosed yoke.
Yoke facing offset slightly to avoid pulling before stitching shoulder seams.
Setting the sleeve in flat with the "Flat Felled" seam pinned and ready to sew.
Collar and Collar Band ready to attach to neckline. 
Inside: Intersection of  Flat Felled side seams and armhole seam.
Inside of shirt tail hem.
Tower placket and cuff.

I really enjoyed the construction of this shirt. Everything was finished off so neatly. As Pam Howard said "You could wear this shirt inside out if you wanted to". There was some hand stitching involved. The collar band and the cuff facings were hand stitched using a fell stitch, and the buttons were sewed on by hand. This was a nice touch and as Pam Howard said " it makes it a handmade shirt. You can sew a shirt entirely by machine, but you can go to the shops and buy one of those." I have to agree that the little bit of hand sewing made the construction of the shirt more personal and I felt that I was putting a lot of love into it.


Front


Back
Collar
Back yoke and collar
Cuff and sleeve pleats
Overall I am really pleased with how this shirt turned out. My partner even wore it out in public when we went out for dinner to celebrate his birthday. There are a couple of changes I will make for the next one ( and yes, there will be a next one or two or maybe even three). I will add about 6cm to the sleeve length and also increase the length of the tower placket. My partner is very tall (6' 4") and slim and he has extra long arms.

And to finish off....how appropriate was this birthday card?


Happy Sewing