I took advantage of the pattern sales on at the time and purchased several contenders.
Initially, I was set on making Vogue 1030. After I ordered the pattern, but before it arrived, this post from Poppykettle popped up. She had used this very pattern for her bridesmaids dresses. This post was quite enlightening as she shared the whole process of creating this dress twice, and it wasn't without considerable drama along the way...I think she scared me off using this pattern, even though her dresses turned out beautifully in the end.
So I went on to plan B, consulting my mother for advice. The next pattern I considered was Simplicity 1909 view C. When I showed my mother she so tactfully pointed out that it did look lovely on the very slim model (but maybe not on so good on a middle aged woman with a thickening waist) Don't you just love Mothers...but she was right.
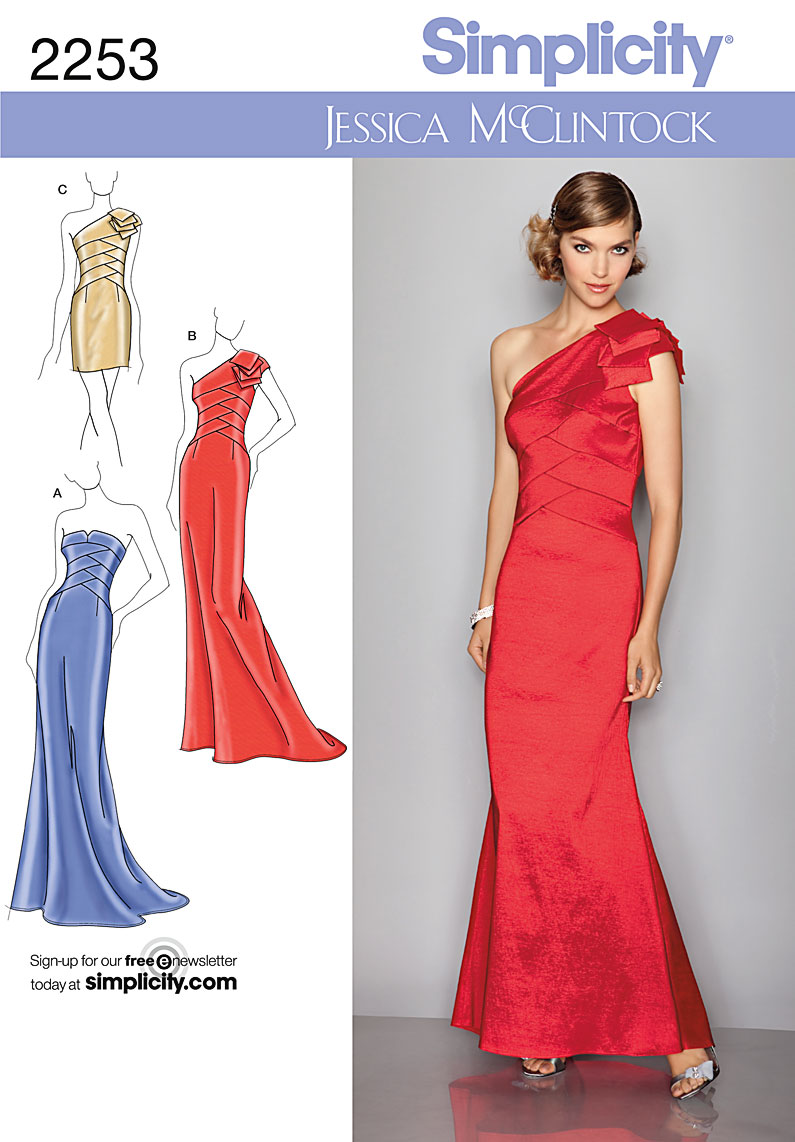
Finally I settled on Simplicity 2253, a Jessica McClintock design.
I loved the seamlines in the bodice and the elegant skirt with a slight train. I decided to make a muslin to try it out and get the fit right. I used a cheap poly suiting that I had in the stash, which had a lovely drape, and I underlined it with an old flannelette sheet.
I only needed to make a few minor tweaks to get the fit right. The next drama was sourcing suitable fabric. I agonised over what colour to get. I had something pastel in mind in cool green/aqua like tones. I live in an area that is a complete dressmaking fabric void. Therefore, I had to resort to online shopping, and from experience, this is always a bit of a gamble.
After having no success in Australia, I decided I would be brave and try Mood Fabrics. I love their website. It is so easy to navigate with great pictures of so many beautiful fabrics. I decided on a beautiful Silk Crepe Back satin called Dewkist, with a matching China Silk lining. I ordered it and my credit card was debited almost immediately. I stipulated on my order that I required it three weeks from the time of order. And so began the wait. Well to cut a long story short, after several emails were exchanged and almost five weeks had passed since I had placed the order, my fabric had still not been shipped. I was getting extremely stressed as my sewing time was disappearing fast, as our Wedding date was approaching quickly. I suddenly realised this was ridiculous. This was supposed to be a happy and exciting time leading up to our marriage, and it was turning into a nightmare. That's when I decided I was not going to let it ruin my special day. I cancelled my fabric order and was reimbursed in full, no questions asked.
Then, I am sad to say, I broke my RTW fast. I went on a wedding shopping day trip to Canberra, taking my mother with me for her invaluable advice. We had a great day and I found a suitable dress and got a bargain as it was half price. In fact, it cost less than half of what I was paying for the fabric from Mood. As soon as I had settled on the dress, everything else just fell into place.
I did do a little wedding related sewing. I made my own wedding garter which was a bit of fun. There are loads of tutorials on the internet with various ways of going about doing this. I got the general idea and then adapted it to suit the lace and ribbon that I had.
I ordered silk flowers from Bloom Room Designs as we were travelling away to get married, and it was difficult to organise fresh flowers where we were going. So I had to work out how to pack the flowers for our trip. The box they came in was too big for the suitcase, so I decided to make a large tote bag that the box would fit into. They were very lightweight, so carrying them wasn't a problem. I was able to take the tote on our flight as carry on luggage and it just fitted into the overhead compartment in the plane perfectly. The fabric I used to make the tote was actually a lovely brocade bed valance that had been sitting in my linen cupboard for the past ten years, unused. I was very pleased that I had finally found a use for it, and the colours toned in beautifully with our wedding theme. I even lined it with the cotton fabric part of the valance that is usually sandwiched between the mattress and the bed base.
 |
| Handles made from purchased cotton webbing. |
 |
| This is how the box containing our silk wedding bouquet and buttonniere fitted in the bag. |
I will leave you with a few wedding photos, even though the dress was purchased from Events Clothing, not made by me.
(Greg and I took all the wedding photos ourselves using a tripod, remote control and the 30 second timer. Not too bad for selfies!!!)
All's well that ends well.
Happy Sewing


