Showing posts with label Mabel. Show all posts

Wednesday, 20 April 2016

Style Arc Maddison Top

The Style Arc Maddison Top has become quite popular of late, and I have been persuaded to try it after seeing all the great versions out there, already created. 


Of course, this pattern looks great in stripes, but I used a solid black ponte from my stash to try it out first. I made a few pattern alterations before cutting out. The front neckline was lowered by 2cm at centre front, tapering back to the original neckline at the shoulder darts. I always try to avoid crew necklines as they are never flattering on me. I added 5cm to the length of the front and back pieces to account for my long body shape. This was added in by cutting and spreading the pattern at around the waistline level, and the last alteration was to drop the bust dart point down about 2.5cm to compensate for the effect of gravity. Not all of these alterations were successful.

Style Arc Maddison Top
The description from the Style Arc website: "A great everyday raglan sleeved top with a slight trapeze the body, the wide hem allows this top to fall beautifully. Make this in a stripe to show off all the design lines. This top can be made in a knit or a stretch woven fabric."


As you can see from the side view, the top is not hanging in the most flattering way. I think it may need a full bust adjustment to add some width and length to the front pattern piece, so that it hangs better. (I'm open to suggestions here.) I cut my usual size 12 for this top. 

Altered bust dart point failure.

I always learn so much when scrutinizing the photos of the garment on me. So much more helpful than just looking in the mirror. Lowering the bust dart point was a complete failure. This alteration was completely unnecessary and I will keep it at the original position for next time. The ponte fabric is quite heavy and this may have dragged the position of the bust dart down. This could have a completely different outcome if a woven fabric was used. 


It looks better from the back. I love the raglan sleeves and the deep hem. The neckline was finished off with a simple wrap around self fabric binding. The skirt is another Colette Mabel, made in a lovely printed Italian Ponte from Knitwit. I have improved the fit of this version by doing a full tummy adjustment. This was easy to do and made a real difference to the fit and hang of the skirt at the front. I will be using this adjustment for any future makes, for sure.


This has been a great outfit for the cooler weather that has finally arrived, despite my fitting issues. I'm sure I will iron them out in the next version.

Happy Sewing

Tuesday, 19 January 2016

Colette Mabel Skirt & a repeat of the Style Arc Esme Top.


Colette Mabel skirt worn with Style Arc Ann T-Top. The denim jacket is RTW.

I have made the Mabel skirt from Colette Patterns several times before... see here and here, although I have not been completely happy with the fit until now. This is a great pattern for a simple knit skirt, but I have found it does need a little tweaking, depending on the fabric used. The stretch factor of different knits can vary so much.


This fabric was originally bought with the Style Arc Esme Designer Knit Top in mind. It is a gorgeous printed scuba knit that I purchased from Spotlight a while ago. It just screamed casual summer to me...specially when combined with white. I did make the Style Arc Esme Top and I managed to eke out the Mabel skirt from the left overs as well.


I made version 1, without the design seam lines on the front, and lengthened it considerably. I had planned to add the kick pleat at the back, but the amount of fabric I had left did not stretch quite that far. Instead, I created a split in the centre back, for walking ease. This seam was pressed open and then the seam allowances were top stitched down. I find scuba knit to be very springy and hard to get to lie flat, but this worked a treat. I used some left over white cotton lycra from the T Shirt to line the waistband.


Instead of just rushing ahead with this one, I decided to take my time and work on getting the fit more to my liking. I machine basted the side seams several times before I was happy with the shape. From memory, I pegged the skirt in a little from around the hip line down to the hem, to create a little more of a curve. My body is rectangular in shape, so benefits from any added curves. I also added elastic to the waistline, as I find it slips down without it. The hem was hand sewn.

Don't mind the snoozing dog.

Now onto the Style Arc Esme Designer Knit Top that was the original reason I bought this fabric.


 This is the second time I have made this top. The first one was made in a ponte knit which sewed up beautifully. This time I used this printed scuba knit. The scuba knit was not as well behaved as the ponte and I did have to unpick and redo a few bits, so overall it was a bit more fiddly to sew.


I kept the pattern pieces exactly the same as my first Esme, including the length alteration, as I was happy with the fit the first time around.


Again, I have paired it with white. This fabric combination just looks so fresh and summery to me. These denim pants are RTW purchased from Rockmans a few years ago. As my 23 year old daughter was taking these photos for me, she made the comment that "Mother's look good in white pants". I questioned why she thought that and her reply was that "she could never keep white pants clean". I thought that was quite amusing...as if mothers have some super power to keep their white pants clean...I actually find it a struggle.


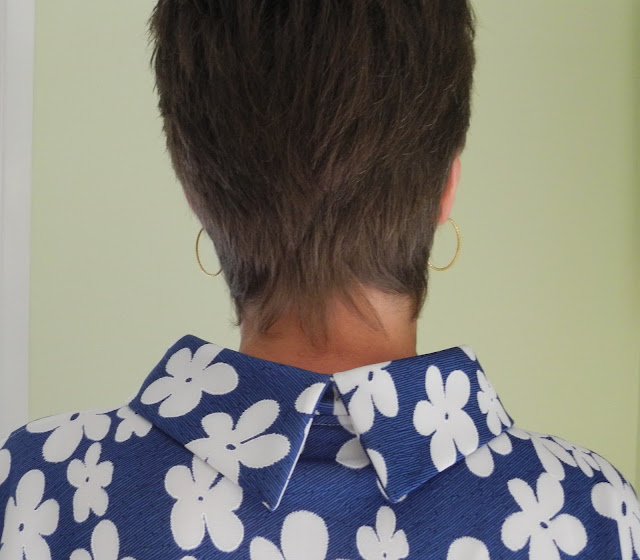
The collar was cut on the bias and sits beautifully in the scuba knit, just as it did in the ponte. Don't try and skimp on fabric to cut this on the straight grain. I don't think it would sit nearly as nicely as it does on the bias.


I had a bit of trouble getting the collar points to look as good as the ones in the ponte, but they are not too bad. I had picked this side to be the one I wanted to show as it looked the best, but I somehow got confused and sewed it on inside out. Glad I persevered and unpicked it, and resewed it on the right way. 


Both these garments were sewn during my Christmas/New Year break from work. In fact, I could have called it a Sewcation. I don't think I will ever wear this top and skirt together though...far too matchy matchy. What do you think?

Happy Sewing

Monday, 28 December 2015

Style Arc Esme Designer Knit Top


The Esme Designer Knit Top appealed to me the minute it was released. The relaxed fit and stylish design lines ticked all the boxes. I have been making the most of the Christmas Holidays by spending time in my sewing room over the last couple of days, much to my daughter's disgust. She just doesn't get the fact that I love to sew.


Style Arc suggest using ponte or scuba knit to make up this top. I have a lovely printed scuba knit ear marked for this pattern, but I decided to use this less precious rich purple delux ponte from Spotlight, to make a test garment.


I made one alteration to the pattern before I started, and that was to add 5cm to the length of the front and back pattern pieces. I added the length in just above the top of the side split. I am long in the body and I knew that I would not find the length flattering on my body, as drafted.


I am happy with the length after my alterations and the fit is ok as drafted. I made a size 12. I love how beautifully the collar sits at the neckline. I was a little dubious about cutting the collar on the bias in a knit, but this has created a lovely result so I am now sold on the idea. The collar only worked folded over. I couldn't make it stand nicely as illustrated on the pattern envelope.


The instructions suggest sewing the seams, pressing them open and then top stitching them down as a feature. I went with this suggestion and am very pleased with the beautiful neat finish this created. All raw edges were overlocked to create a neat edge, before the seams were sewn on the sewing machine.


The front and back hems, side slits, side seams and armhole edges, were top stitched with one continuous line. I did press and pin quite extensively before beginning the top stitching, but I am very pleased with how neat this turned out.


The back collar points turned out beautifully and this was quite easy to achieve. The instructions were clear and also provided diagrams for this step. This ponte was very well behaved and all the corners and points turned out so well. Not something I always have great success with.


The skirt was also made to wear with this top. I used the Colette Mabel Skirt pattern, combining the style of version 1 with the length and kick pleat of version 3. I have made the Mabel skirt twice before and am still working on the fit. This one is made from a scuba knit from Spotlight. I used the purple ponte to line the waistband. I have also inserted elastic into the waistband to make it feel more secure. 


The kick pleat is constructed in the usual way, as opposed to the Colette way of sewing it closed. I think it sits better open. There was enough delux purple ponte left over to make another Colette Mabel skirt, which can also be worn with the top to create a different look.


Now on to the next project...


Happy sewing