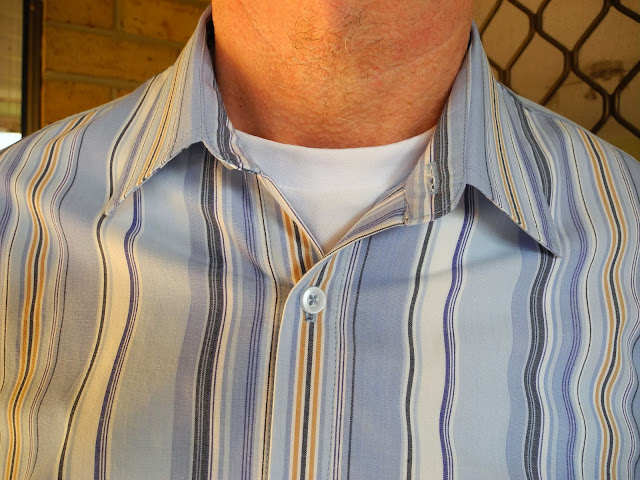
In preparation to make this shirt, I purchased Pam Howard's "The Classic Tailored Shirt" from Craftsy. This class was fantastic. Pam is such a great teacher. She explained every step of making a classic tailored shirt very clearly and demonstrated every step in great detail. She even made a couple of mistakes herself, but then explained and showed how to fix those mistakes. I learnt so much from this class and it certainly gave me the confidence to make my own classic tailored shirt.
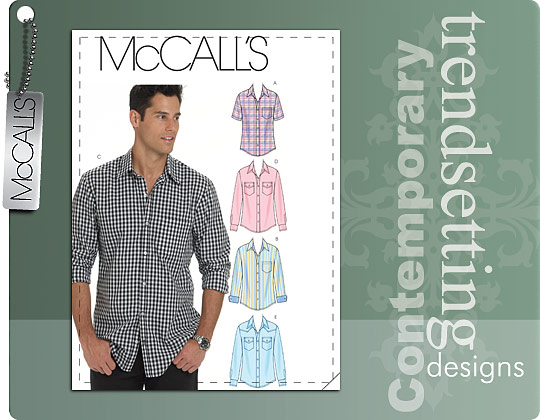
I used McCalls 6044 in a large with a few alterations.
The fabric I used was 100% cotton shirting purchased online from The Remnant Warehouse and I see it is still available. It was a lovely soft cotton and easy to work with. Although the stripes gave me a headache during the cutting out process. It took a lot of time and thought to get the stripes placed to look their best on the pattern pieces. I was quite pleased with the result. In fact, I matched the stripes so well on the pocket that it is almost invisible.
 |
Here are some photos during construction:
 |
| Pam's Yoke Trick (aka Burrito method) |
 |
| Yoke facing offset slightly to avoid pulling before stitching shoulder seams. |
 |
| Setting the sleeve in flat with the "Flat Felled" seam pinned and ready to sew. |
 |
| Collar and Collar Band ready to attach to neckline. |
 |
| Inside: Intersection of Flat Felled side seams and armhole seam. |
 |
| Inside of shirt tail hem. |
 |
| Tower placket and cuff. |
I really enjoyed the construction of this shirt. Everything was finished off so neatly. As Pam Howard said "You could wear this shirt inside out if you wanted to". There was some hand stitching involved. The collar band and the cuff facings were hand stitched using a fell stitch, and the buttons were sewed on by hand. This was a nice touch and as Pam Howard said " it makes it a handmade shirt. You can sew a shirt entirely by machine, but you can go to the shops and buy one of those." I have to agree that the little bit of hand sewing made the construction of the shirt more personal and I felt that I was putting a lot of love into it.
 |
| Front |
 |
| Back |
 |
| Collar |
 |
| Back yoke and collar |
 |
| Cuff and sleeve pleats |
And to finish off....how appropriate was this birthday card?
Happy Sewing


You did such a nice job on this shirt -- very professional! Your partner looks very handsome in his birthday present. I have yet to take a stab at men's shirts, although I already have this pattern.
ReplyDeleteThank you Angela for your lovely comments. You should definitely try making a men's shirt. I found the Craftsy course "The Classic Tailored Shirt" so helpful, and it enabled me to achieve a professional finish.
DeleteGreat shirt ~ you will be sewing a lot more of these in the future, he won't return to store bought after wearing this brilliant shirt ... J
ReplyDeleteThank you Judith. I thought I might be sick of sewing men's shirts after this, but I can't wait to make another one... with longer sleeves this time. My partner always finds it difficult to buy a shirt that fits his torso and has long enough sleeves. His solution to this problem has been to always roll up his shirt sleeves. This will have to change now.
DeleteA great job on this shirt - it looks so professional.
ReplyDeleteThanks Paola. It has been quite a satisfying project, and not as difficult as I had imagined. Keen to make a few more now.
Deletewow - it looks amazing!!!!! Such brilliant finishing - I am most envious!
ReplyDeleteThank you so much Lizzy. I loved your recent Archer and you have inspired me to make one for myself now.
DeleteAw, that's adorable! Great job on the shirt! I have purchased the Craftsy class but haven't had a chance to look at it yet. I've heard so many good things about it, though, I am looking forward to giving it a shot.
ReplyDeleteThank you very much June. You will love the Craftsy class. Pam Howard is a wonderful teacher.
DeleteThe shirt looks great, and he looks appropriately pleased with it, which must be gratifying! You can hardly see that pocket! Beautifully made :)
ReplyDeleteThank you Carolyn. This was a very satisfying make and I can see a few more in the future.
DeleteAren't you nice to make your partner a shirt for his birthday! It turned out great - love the yoke trick and the review of this class. Thank you!
ReplyDeleteThanks Sarah. I really enjoyed making this shirt for Greg. A lot of love went into it which made it a lovely personal gift.
DeleteBeautiful job! I found your blog through PR. Thanks for very helpful review. Donna (Mc Donna on PR)
ReplyDeleteThanks Donna. I'm glad you found my review helpful.
Delete