It has been a long road and a steep learning curve, but I have finally finished the outfit previously blogged about here. I had challenged myself to make an outfit, combining elements from three different patterns and putting into practice the fitting skills I had learnt from the Craftsy class Sew The Perfect Fit with Lynda Maynard. The outfit was to wear to my nephew's wedding so I was under pressure to have it completed by September 7th. I finished with a couple of days to spare.
Here are some photos taken at the hotel where we stayed just before leaving for the wedding.
 |
| Front view |
 |
| Back View (this makes me look very bow legged) |
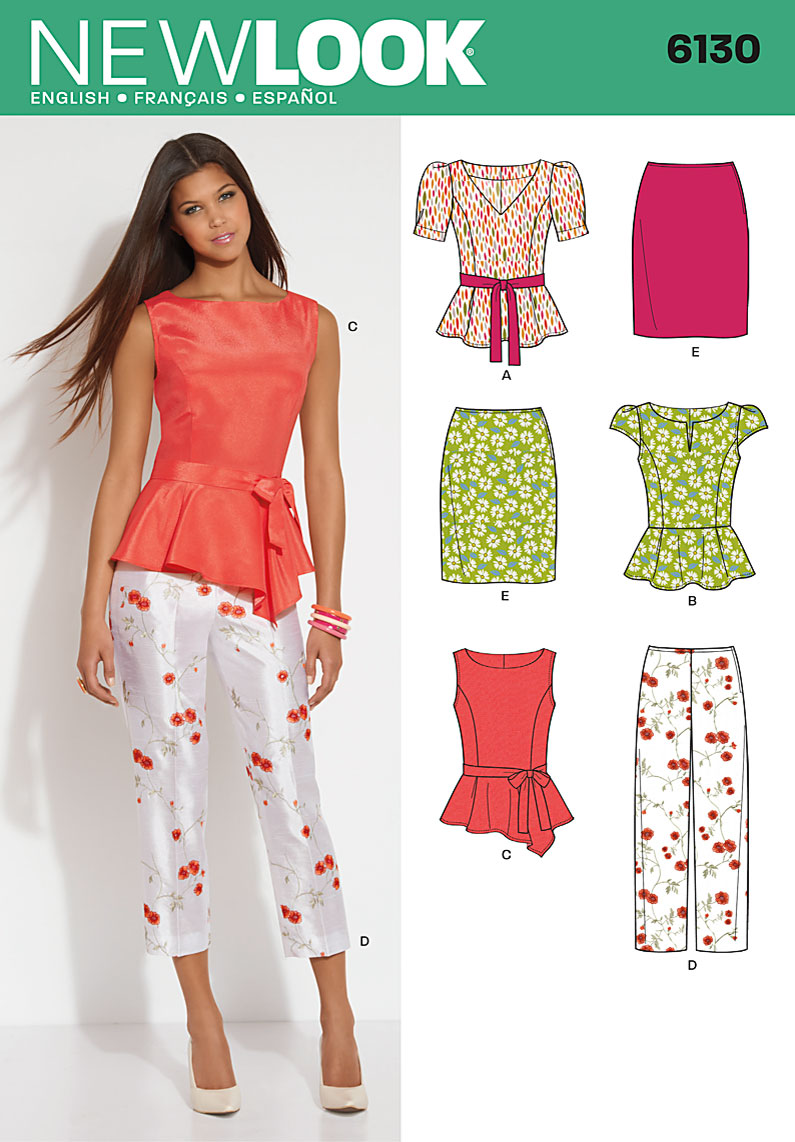
I used the bodice from New Look 6130, the sleeves from Vogue 8766 and the skirt was BHL Charlotte Skirt. The fabric I used was Purple Rose Brocade purchased from Spotlight and I used a black anti static Italian Lining also purchased from Spotlight. The brocade frayed madly the minute it was cut, so I overlocked the raw edges as soon as possible. This seemed to keep the fraying under control.
 |
| Peplum detail |
I loved how the peplum turned out. Because the brocade was quite stiff, it gave the peplum plenty of body. I ironed the pleats right down to the edge to get them to sit properly. It was difficult to iron a straight crease in the areas cut on the bias, so they are not perfect.
 |
| Neckline and bodice. |
I was very pleased with how nicely the neckline sat with no gaping. It really is well worth the effort of making a muslin and getting the fit right.
 |
| Darts at the sleevehead |
Here is a close up of the darts at the sleevehead. I love how neatly they shaped the sleeve and it was very easy to ease into the armscye.
 |
| Invisible zip |
I was very pleased with my invisible zip insertion. It worked perfectly, first go and even matched the waist seam perfectly. I used the tutorial from The Coletterie.
To hem the peplum there was one corner that needed to be mitred. I had to practice a lot on some scraps because it was not a perfect right angle and I new that the brocade would not be very forgiving if I stuffed up and had to unpick. To my amazement, it turned out really neat.
 |
| Mitred corner right side. |
 |
| Mitred corner wrong side |
Here are some detailed shots of the inside and lining.
 |
| Back |
 |
| Front. I used purchased satin bias binding to cover the overlocked edge of the facing. |
 |
| Inside sleeve hem. Satin bias binding used as hem tape. |
 |
| Back. I bound the end of the zip because it was loo long and I had to shorten it. |
The lining was sewed by machine to the neckline and the zip, and then hand sewn at the sleeves and the waist.
I had to make quite a few fitting changes to the Charlotte Skirt. I removed 2.5cm from the top of the skirt, which shortened the darts and I reshaped the side seams to match my curves (or lack of). I removed another 7cm from the bottom of the skirt before hemming. This skirt pattern is very long. I also added a slit at the back seam. Without this, it was impossible to walk in this skirt. I was surprised this was not included in the pattern or instructions.
 |
| Back slit to enable walking. |
 |
| Inside back slit. |
This inside shot reveals my big mistake. This is why you should not sew late at night when you are too tired to be thinking straight. I cut the lining too short. I had cut off 7cm from the brocade at the hemline, so I proceeded to cut an extra 2 cm off the lining, so that it would be 2cm shorter than the skirt. (But I forgot that I added the satin bias tape to finish off the hem). Too bad...I was not going to start again.
I attached the lining to the slit by machine so that it would not show. This is a technique I clearly need to improve on.
 |
| Lining hem |
I used a decorative machine stitch to sew the lining hem.
I have learned a lot during the planning and construction of this outfit, and improved some of my sewing skills. I am convinced that it is definitely worth the effort of making a muslin to get the fit right before cutting into the good fabric.
A couple of shots from the wedding
 |
| A big thank you to my Mum for all her help during the fitting process. I couldn't have done it without her. |
 |
| Me with my two sisters. Didn't the colours of our outfits look pretty together? |
Now onto the next project...
Happy Sewing


Great job on that fitting -- the dress looks lovely on you! I do love the photo of you and your sisters -- you all look beautiful together:)
ReplyDeleteThanks Angela. It really is amazing how fitting a garment to suit your shape makes it look so much better. I had a lovely catch up with my sisters at the wedding,as we all live a long way apart from each other.
DeleteBeautiful. Your outfit has turned out so well and looks great on you. Fab job.
ReplyDeleteThank you so much BeaJay. It's all you lovely sewing bloggers out there that inspire me to push myself to learn new skills and become a better sewer.
DeleteThank you for your very kind comment Linda.
ReplyDeletePerfect in every way. All those little details add up to a stunning dress.
ReplyDeleteThank you very much Ruth. I'm sure you noticed some not quite perfect bits, but at least they are mostly on the inside.
DeleteOk I nearly fainted from wonder when I saw the mitre. WOW! I've been eyeing off this fabric - just can't figure out what would work on me. It's a great print!
ReplyDeleteLovely dress.
Thank you Lizzy. I too, was completely amazed at how great my mitre turned out. Must have been a fluke, I think. I wasn't sure about this fabric when I bought it, but I am quite pleased now, and it did photograph well.
ReplyDeleteYou went all out and achieved the perfect dress ! How you successfully combined three patterns is impressive on its own but your attention to details brought the pretty dress to another level. Congratulations!
ReplyDeleteThank you so much Sarah. Your sewing blog continues to inspire and encourage me to sew and to improve my sewing skills, and for that I am very grateful.
DeleteYour outfit looks really beautiful! I love the pleating detail on the front of the peplum. Lovely. And you and your sisters look just fabulous together!
ReplyDeleteThank you Carolyn for your lovely comment. I was pleased with the pleating on the peplum too. I think it worked well due to the stiffness of the brocade.
DeleteWow, outstanding job on your wedding outfit Jean! :) Very stylish! You and your sisters look so great together. And its cool that all the colours compliment each other's outfits;)
ReplyDeleteThanks Rikki. We only noticed how great the colours of our outfits looked together, later when we were looking at the photos.
DeleteSuch a stylish upmarket looking dress ~ you excelled yourself in making this!
ReplyDeleteThanks very much Judith. I was pleased with the outcome.
DeleteThis is stunning!! Fantastic job!
ReplyDeleteThanks manda.
ReplyDeleteI'm just starting this course on Craftsy and I'm so excited after seeing your finished product. It's absolutely stunning. I can't believe how little attention I paid to fit before I started sewing. I suppose that's why strech fabrics are so popular. Thanks for the inspiration! -Catherine
ReplyDelete